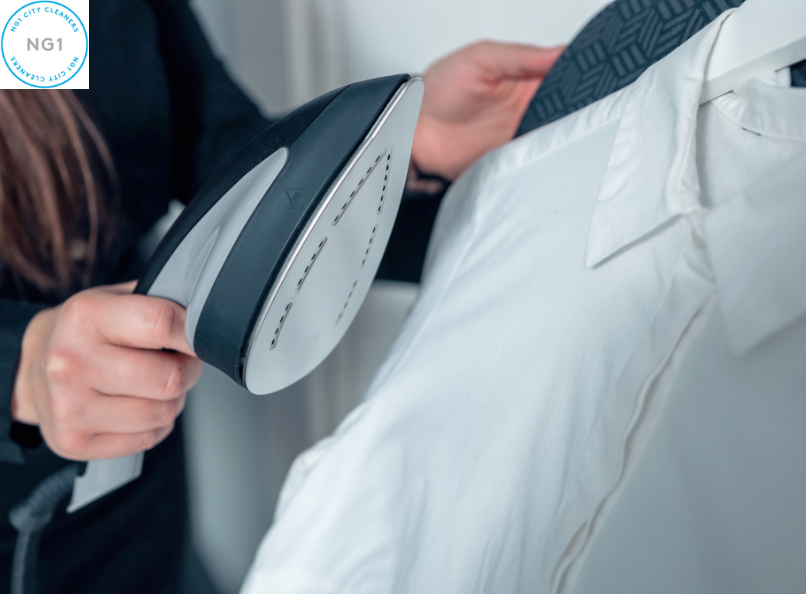
The Millennials Guide to Ironing a Shirt
A new study by the home interior specialist, Hillarys, has revealed tasks young people are most fazed by in their homes, with simple DIY chores including changing a light bulb proving to be particularly tricky.
Participants of the study were presented with a list of household tasks and asked to select all those they did not know how to do. The results of the survey revealed that 66% of 18-24-year-olds who took part, feel as though they would be unable to iron a shirt.
“The new millennial generation have become reliant on technology to complete very basic tasks. For some, ironing a shirt may be something that they have never had to do, and therefore have never been taught how,” says David Teasdale of Laundry Equipment Direct (http://www.laundryequipment-direct.com/).
To make things a little easier to get to grips with, here are their 5 top tips to iron your shirt like a pro.
1 - Get the right equipment
First thing’s first, before you can even start ironing your shirt, you need to make sure you have the right equipment. You’ll no doubt already have these but if not, invest in a sturdy ironing board and a good quality iron.
Buy a good quality iron. This means that the soleplate (that’s the bottom of the iron) is smooth and clean. If it’s not, the heat distribution could be uneven, and instead of getting creases out of your shirt, it may damage it!
2 - Turn your shirt inside out
Once you’ve turned your iron on and filled it with water, turn your shirt inside out so that you can read the ironing instructions on the label. Different fabrics can withstand different temperatures. For example, cotton shirts tend to be able to endure higher heat than shirts made of polyester blends, which is why it’s so important to check!
To get a super crisp shirt, you’ll need to iron your shirt on the inside, before repeating on the outside. It’ll only take a couple of extra minutes, and it will be worth it for the perfect finish.
3 - Iron the collar and cuffs
The first part of your shirt you’ll need to iron is the collar. Slowly press the iron from one point to the other, smoothing out any wrinkles. Once you’ve ironed the inside of the collar, repeat on the outside.
Next up are the cuffs. To iron these, you’ll need to undo the buttons and lay them out flat. Start off by ironing the inside of the cuffs, followed by the outside; carefully pressing out all wrinkles. Make sure you don’t iron directly over the buttons, as this can leave permanent marks.
4 - Iron the shirt front and back
Then, iron the front of your shirt, starting with where the buttons are. Move the point of the iron around the edge of the buttons, being careful not to iron directly over them.
If you have a placket (the double layer of fabric that holds the buttons in the shirt), firstly press the material under it with the tip of the iron, and then press over the top.
Once you’ve finished this, you can start ironing the shoulders of your shirt; working your way down to the bottom as you press out all of the creases.
Now, you can start ironing the back of your shirt. To keep it in place, position the top of one of the sleeves over the edge of the ironing board.
Like you did with the front, start ironing from the top of the shirt, working the iron down. If your shirt has a centre box pleat, then you’ll need to run the iron over that too.
5 - Iron the sleeves
The final part of the shirt you’ll need to iron is the sleeves. Because you’ll essentially be ironing two layers of fabric at once, you need to make sure the sleeves are fully straightened out by laying them flat on the ironing board. The way to do this is to hold the sleeve by the seam whilst placing it onto the ironing board.
Start ironing from the top of the sleeve, working your way down to the cuffs. Once you’ve ironed one side, flip your shirt over and iron the other side of the sleeve.
Now that you’ve finished ironing your shirt, make sure you hang it up straight away – you don’t want all of your hard work to go to waste!
If you would like to hire us to deal with your cleaning in Nottingham we are happy to help!

NG1

High-quality & trustworthy domestic & commercial cleaning service at an affordable price from NG1 City Cleaners
Request a Callback
More Blogs
Hiring a Cleaner - Worth the Guilt
June 28, 2023
Spring Cleaning FAQs and Tips
June 28, 2023
Our Top Carpet Cleaning Secrets Revealed
June 28, 2023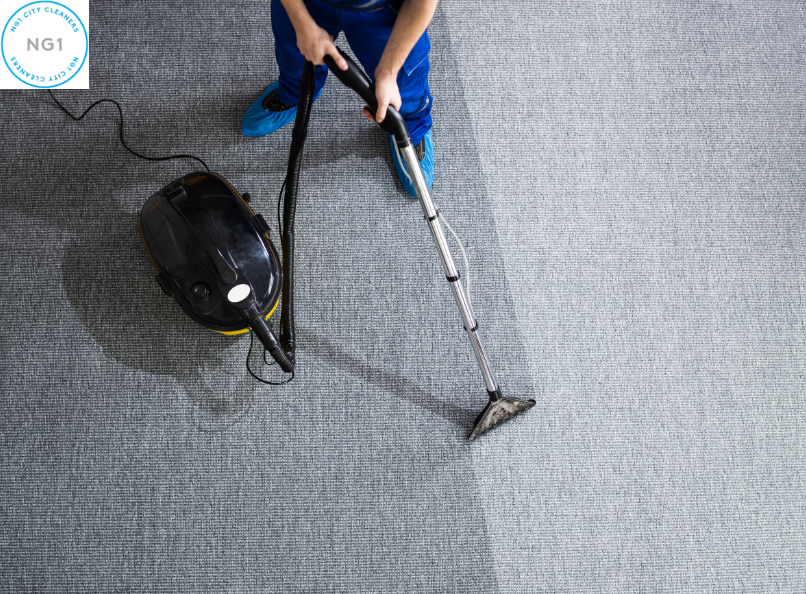
You May Also Like
Hiring a Cleaner - Worth the Guilt
Is hiring a cleaner worth it? Explore the pros and cons of hiring cleaning services. Make an informed decision with NG1 City Cleaners.
Will Bottomley June 28, 2023Spring Cleaning FAQs and Tips
Get your home ready for spring with expert tips and FAQs on spring cleaning. Discover efficient cleaning methods and tackle any mess with ease. Read More!
June 28, 2023Our Top Carpet Cleaning Secrets Revealed
Unlock the secrets to pristine carpets with our top carpet cleaning tips. From stain removal to maintenance tricks, elevate your carpet care game today!
Will Bottomley June 28, 2023Enter Your Details
By using our site, you agree to allow us to use cookies to enhance your browsing experience, analyse site traffic, and serve personalised content. For more details, please review our privacy policy and Terms & Conditions