How to Sterilise at Home
With the majority of us currently confined to our homes, due to the Coronavirus outbreak, there has never been a more important time to keep our living spaces clean. To banish germs, viruses and harmful bacteria from your home, you need to follow our easy 2 step cleaning process. Here we will share our top tips on how to sterilise at home and maintain a healthy living environment.
How to sterilise at home - Cleaning
Did you know that cleaning and disinfecting are 2 different processes?
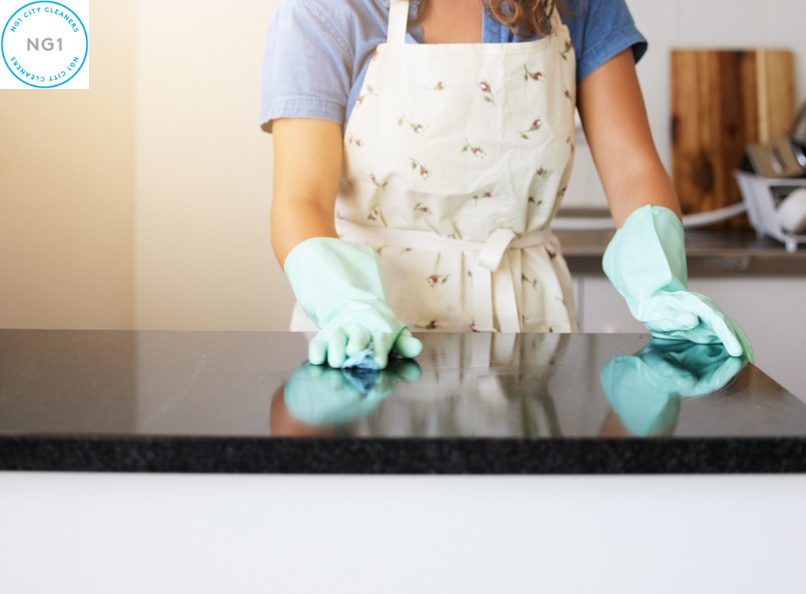
People often assume that if they clean a surface in their home with soap and water or an all-purpose cleaning spray, they will successfully destroy any germs. Unfortunately, this isn’t always the case.
Cleaning is only the first step to sterilising at home. It won’t kill germs. However, it will remove some of them from the surface or object. The fewer germs, the lower the risk of spreading infection. Cleaning a surface or object will also make the environment a less favourable breeding ground for germs, again, helping to keep numbers low.
Along with removing germs, cleaning also gets rid of dirt and impurities. Germs are often lurking under these particles, hence why cleaning a surface or object, before disinfecting, is a key step in how to sterilise at home.
Best cleaning products for sterilising
The easiest way to clean surfaces is with soap and water. You can also use store-bought all-purpose cleaning sprays, or make your own cleaning spray with white vinegar. Bicarbonate of soda is also useful for stain removal, unblocking drains and deodorising your home.
It’s good to get into the habit of routinely cleaning high touch surfaces in your home. For example:
- Tables and worktops
- Doorknobs
- Light switches
- Phones and tablets
- TV remotes
- Keyboards
- Toilets
- Tap faucets
- Sinks
Once you have properly cleaned a surface or object, you can move onto the second step - disinfecting.
How to sterilise at home - Disinfecting
While cleaning a surface will remove a lot of the germs on a surface or object, disinfecting goes one step further and kills any germs remaining. If someone is unwell in your household, or you are concerned about infections spreading, it’s wise to disinfect after cleaning.
Refer back to our list of high-touch surfaces and items for disinfecting.
Best disinfectants
Store-bought household disinfectants should be effective in killing germs on surfaces and objects in your home. We recommend checking the labels for confirmation. Products labelled as disinfectants should adequately kill viruses and bacteria if used correctly. However, products labelled as ‘sanitisers’ or those that say something like ‘kills up to 99.9% of bacteria’ will not kill viruses or fungi. Ideally, you need a disinfectant that does it all.
Take care to follow the instructions on the back of the bottle of your disinfectant. Many disinfectants are only capable of killing germs if they are left on surfaces for at least 5 minutes. It’s important to give them time to do their job before re-wiping the surface. Be careful not to let pets or children touch the surfaces until they are dry.
Diluted bleach and cleaners with at least 70% alcohol content will also effectively destroy germs.
Remember disinfectants are abrasive and harmful to the skin. Wear rubber gloves to protect your hands. If you are disinfecting potentially contaminated areas, we’d suggest only using your rubber gloves for that job. Don't re-use!
Make sure the room you are cleaning and disinfecting is well-ventilated, so you aren’t breathing in the residue.
How often do you need to clean and disinfect the home?
At present, most of us are spending the majority of our time at home. If you haven’t got people going out and coming in, there’s much less chance of Coronavirus or other viruses and bacteria entering your home.
However, it’s still a good idea to clean and disinfect high-touch surfaces daily, just to be on the safe side.
Rather than deep cleaning houses every few weeks, it’s suggested that cleaning and disinfecting, a few times a week, will help to keep germs, bacteria and viruses at bay.
Sterilising at home safely
Although cleaning and disinfecting should help to keep your home hygienic, some items may require total sterilisation. By total sterilisation, we mean the destruction of all life forms on a surface or object i.e. bacteria, viruses, fungi and spore forms.
Sterilisation methods can include the use of heat, chemicals, irradiation, high pressure and filtration.
Hospitals and other medical environments tend to use bleach and other strong chemicals for complete sterilisation. However, for sterilising at home, it’s safer to use heat.
How to sterilise at home with boiling water
Before sterilising an item in boiling water, check that it is safe to do so.
- Wash your hands and then clean the item you need to sterilise using dish soap and warm water. Make sure the item is thoroughly cleaned.
- Place your item inside a clean pan and fill it with cold water. Put the pan on the stove and boil the water.
- Place the lid securely on top of the pan and slightly reduce the heat to stop the water from boiling over.
- Boil the item for at least fifteen minutes, before removing the pan from the heat and leaving the water to cool.
- Remove the item from the pan using a pair of clean tongs. Set aside on a clean surface or drying rack to air dry.
Using cold water sterilising solution
Cold water sterilising solutions can be used to sterilise items like baby bottles and feeding equipment in a steriliser. Be sure to follow the manufacturer’s instructions and leave the item in the sterilising solution for at least 30 minutes. Change the sterilising solution every 24 hours.
You can either buy a steriliser designed to be used with cold water sterilising solution or you can use a plastic container. However, with the latter, it’s recommended that you don’t re-use the plastic container for sterilising.
How to sterilise at home with steam
Did you know you can also purchase a steam steriliser or steriliser bags that can be used in a microwave? Again, it’s important to make sure the item you want to sterilise is suitable for this method of sterilisation. For example, you won’t be able to sterilise metal items in the microwave.
Always check the manufacturer’s instructions and follow the exact microwave settings.
Sterilising at home: A re-cap
- Always clean before disinfecting surfaces and items.
- Follow manufacturer’s instructions, wear protective gloves and ventilate the room.
- Give disinfectant enough time to kill the bacteria, virus and fungi.
- Keep children and pets away from disinfected surfaces until they’re dry.
- Clean and disinfect a few times a week. Daily, for high-touch surfaces.
- Some items can be fully sterilised with boiling water, steam or a cold water sterilising solution.
- Check they are safe for sterilisation using your chosen method and always follow the manufacturer’s instructions.
We hope you have found our guide on how to sterilise at home useful. Be sure to follow our Facebook and Instagram for daily cleaning tips, tricks and guides.
NG1
High-quality & trustworthy domestic & commercial cleaning service at an affordable price from NG1 City Cleaners
Request a Callback
More Blogs
Hiring a Cleaner - Worth the Guilt
June 28, 2023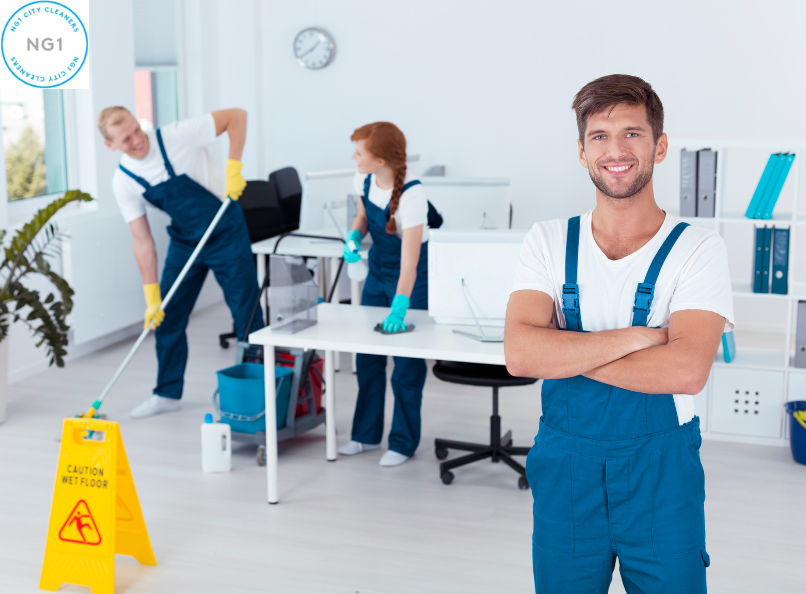
Spring Cleaning FAQs and Tips
June 28, 2023
Our Top Carpet Cleaning Secrets Revealed
June 28, 2023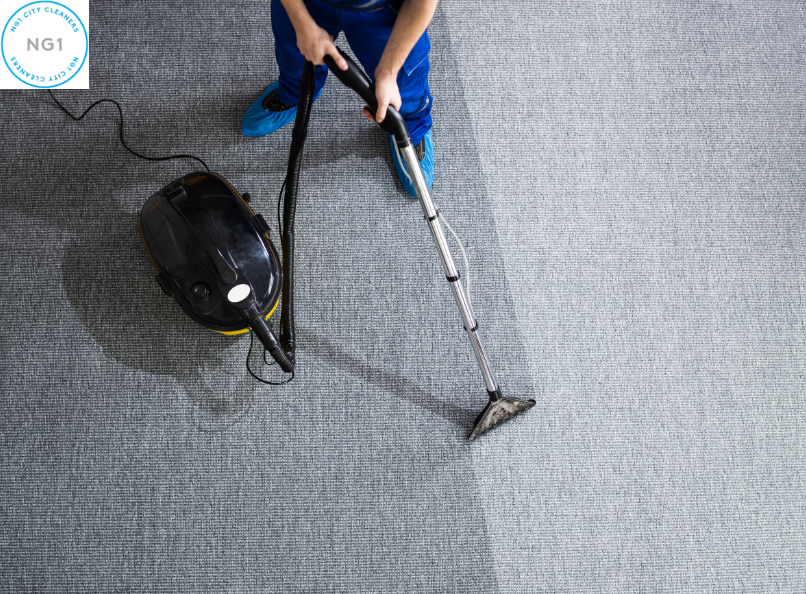
You May Also Like
Hiring a Cleaner - Worth the Guilt
Is hiring a cleaner worth it? Explore the pros and cons of hiring cleaning services. Make an informed decision with NG1 City Cleaners.
Will Bottomley June 28, 2023Spring Cleaning FAQs and Tips
Get your home ready for spring with expert tips and FAQs on spring cleaning. Discover efficient cleaning methods and tackle any mess with ease. Read More!
June 28, 2023Our Top Carpet Cleaning Secrets Revealed
Unlock the secrets to pristine carpets with our top carpet cleaning tips. From stain removal to maintenance tricks, elevate your carpet care game today!
Will Bottomley June 28, 2023Enter Your Details
By using our site, you agree to allow us to use cookies to enhance your browsing experience, analyse site traffic, and serve personalised content. For more details, please review our privacy policy and Terms & Conditions